Cart(0)
The Ultimate Guide to Choosing the Right Sports Shoes for Every Activity
The Ultimate Guide to Choosing the Right Sports Shoes for Every Activity The Ultimate Guide to Choosing the Right Sports Shoes for Every Activity
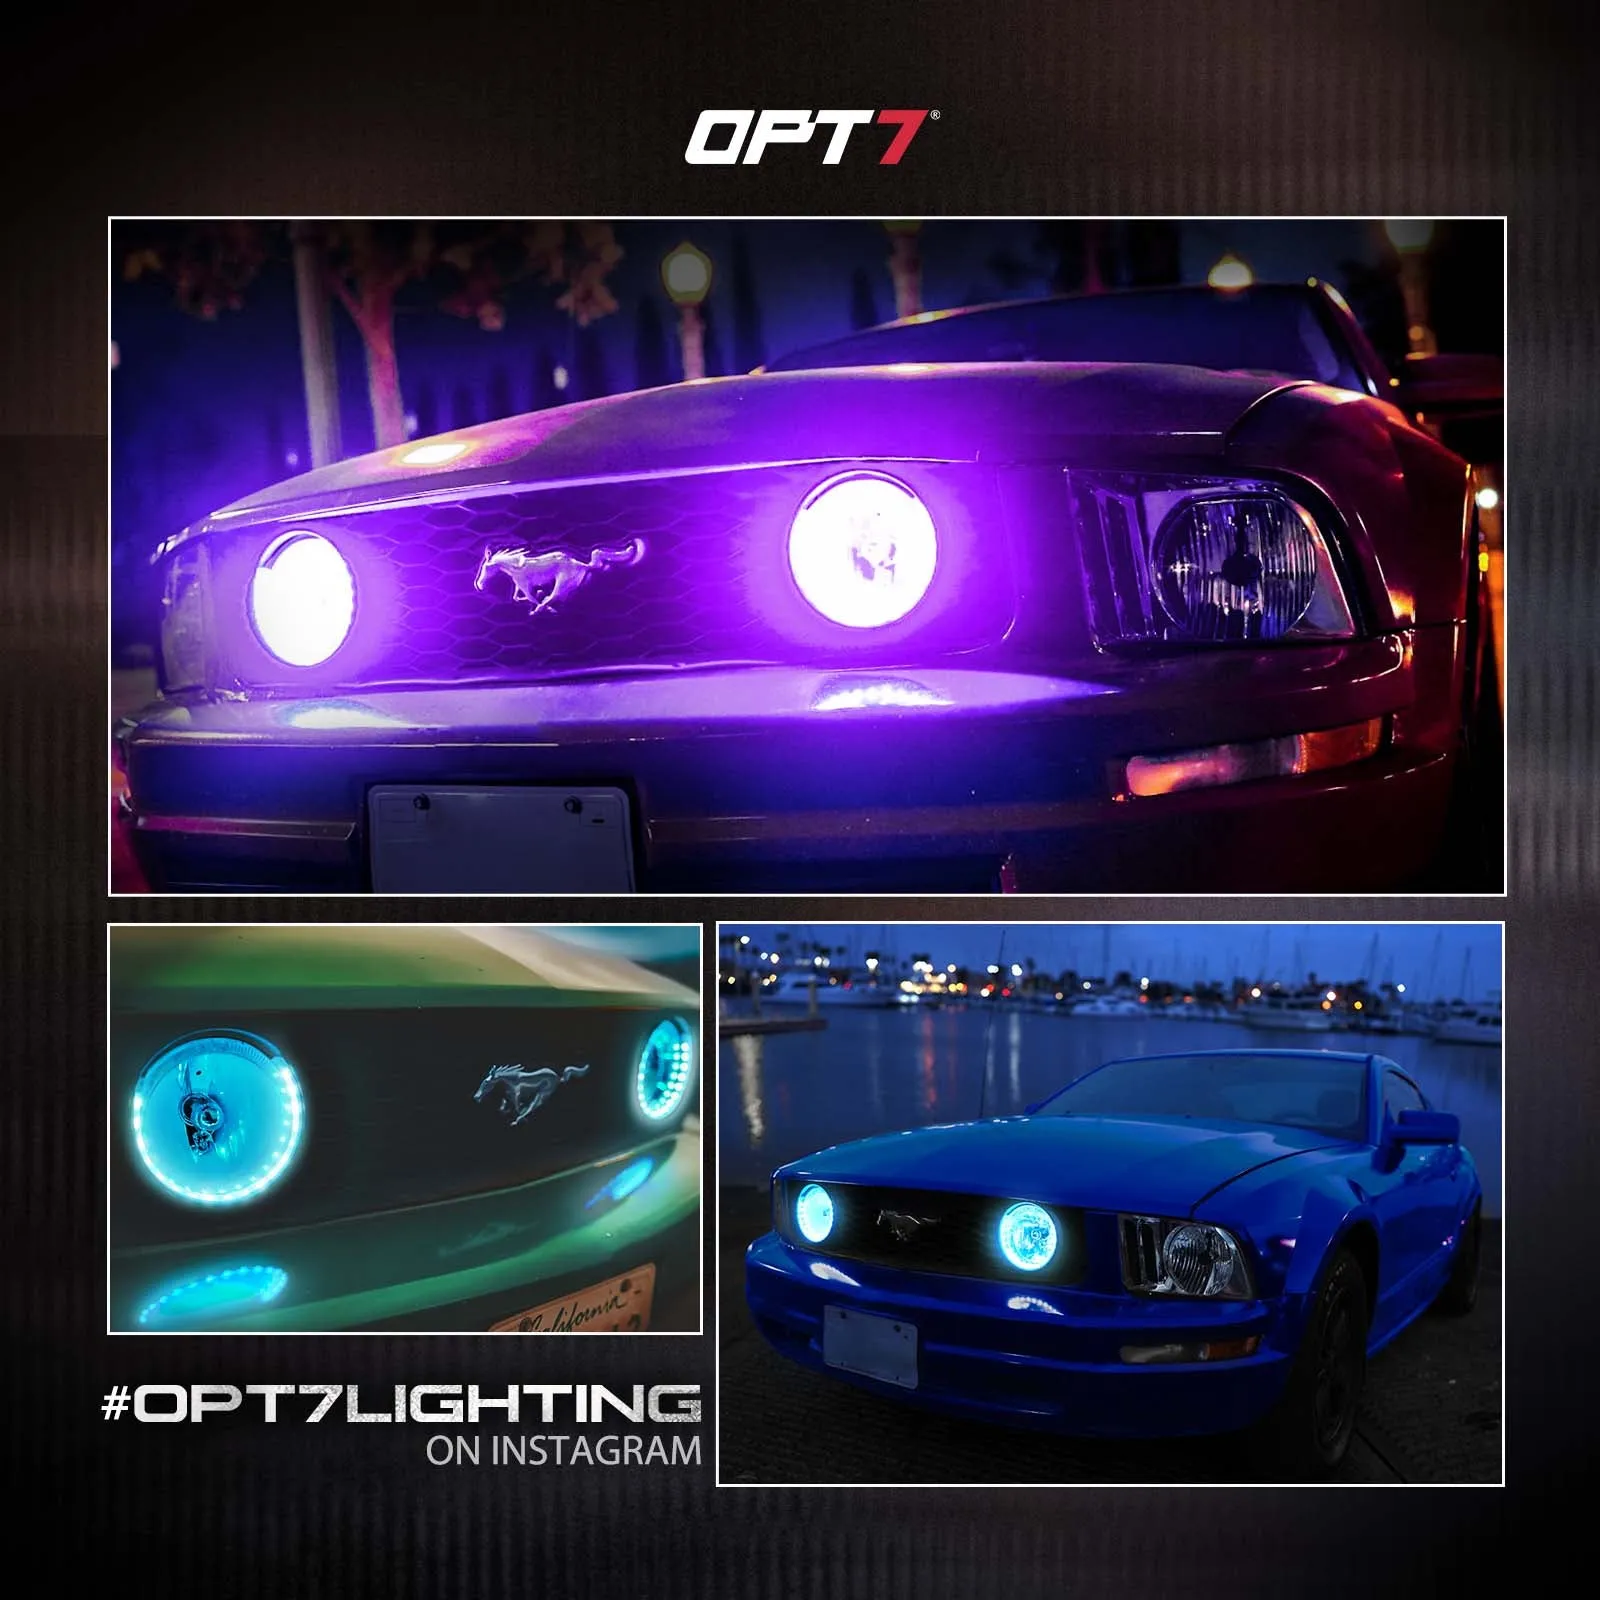
AURA Remote Control Day Time Running Light DRL Halo RGB for Ford Mustang 2005-2014 - Install Friendly

AURA Remote Control Day Time Running Light DRL Halo RGB for Ford Mustang 2005-2014 - Install Friendly

  • DefaultTitle

$ 68.99

$ 52.99

Please select combo product attributes
The combo subtotal is $,SAVE$
Unavailable

Product Details

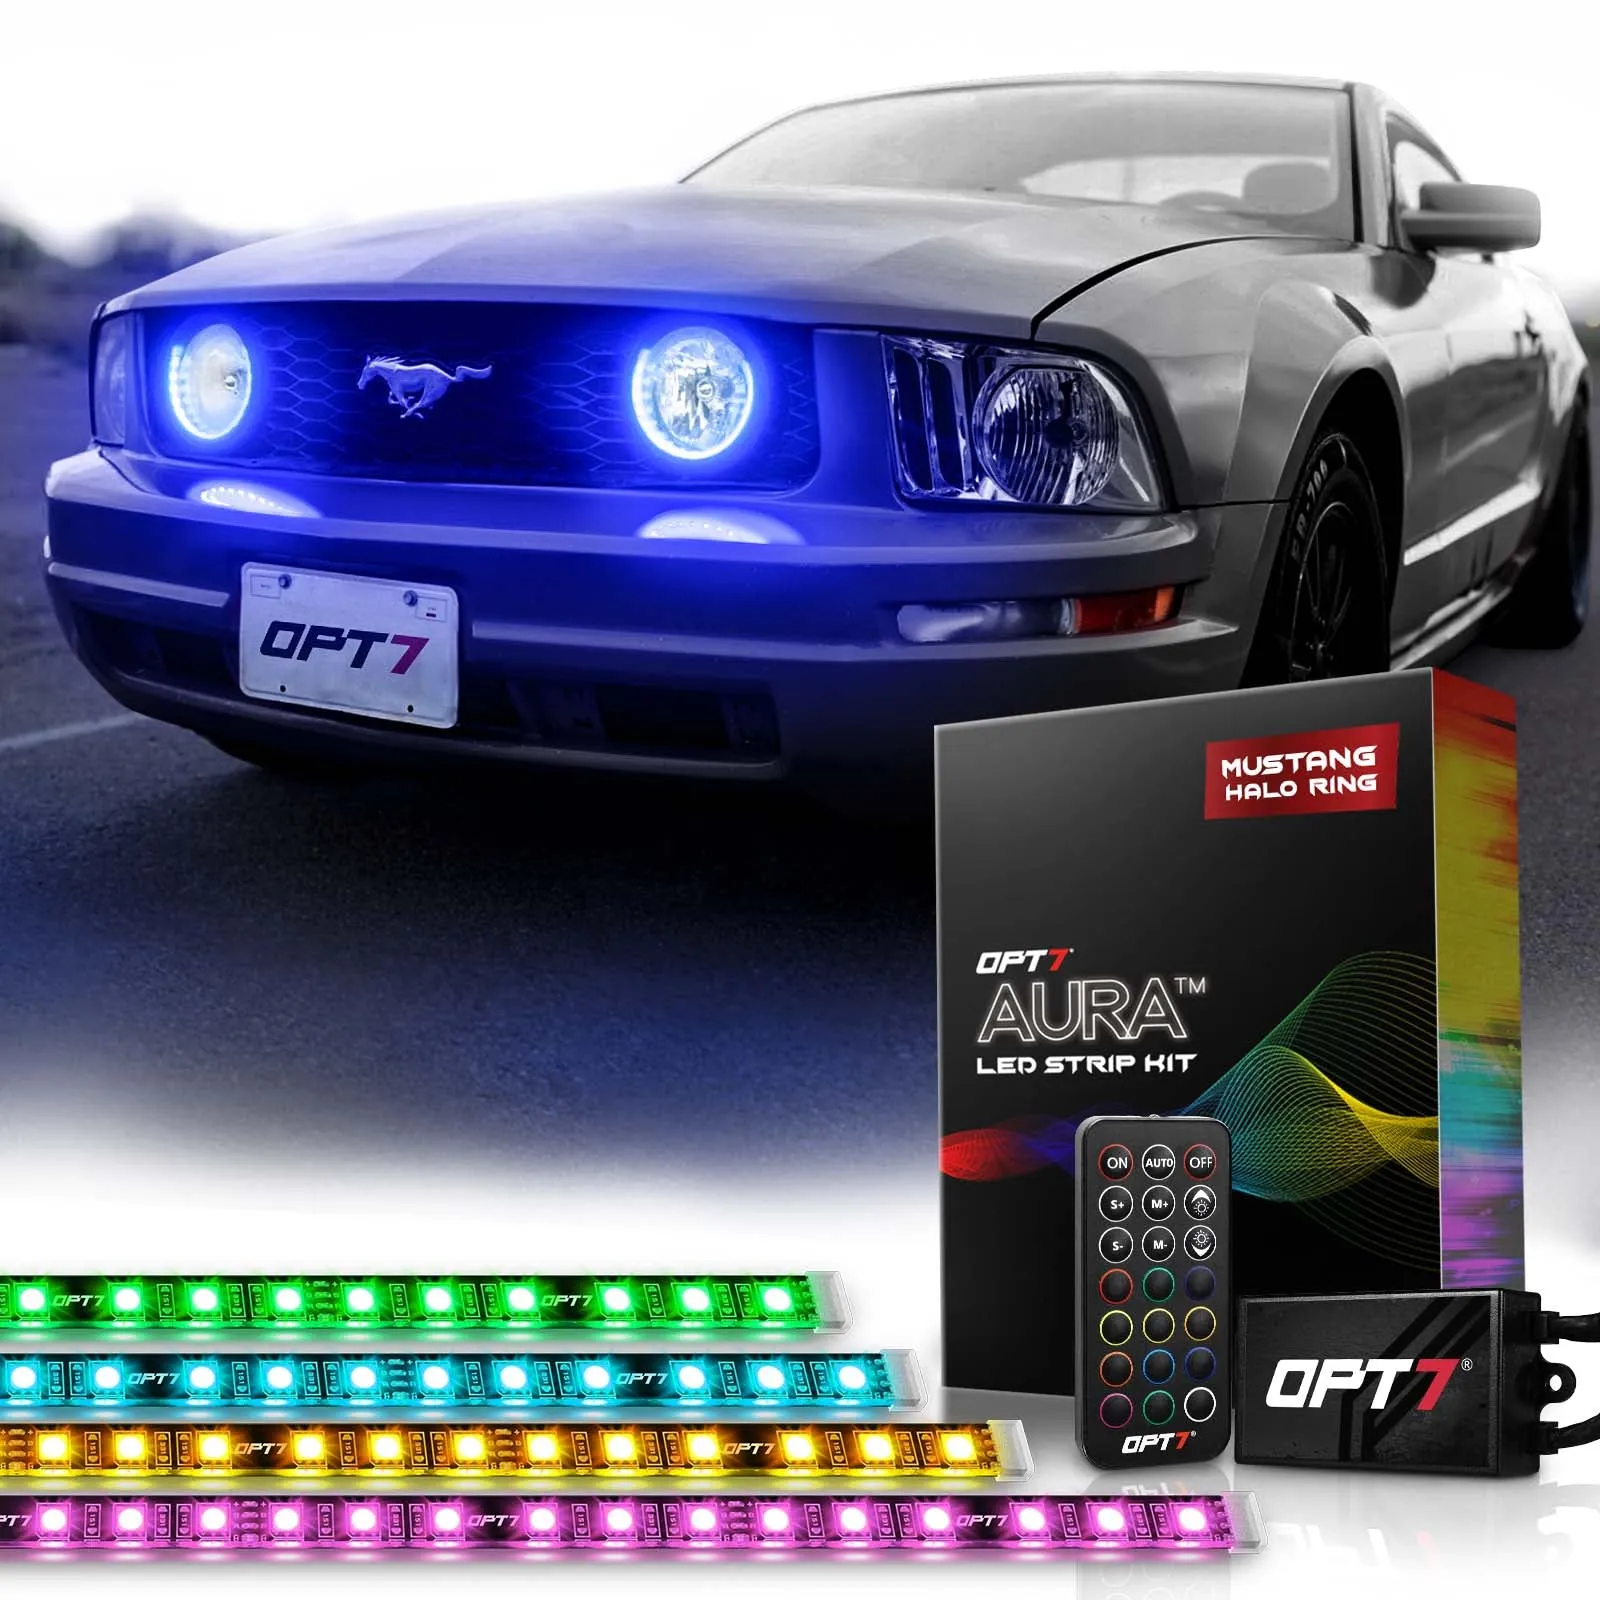
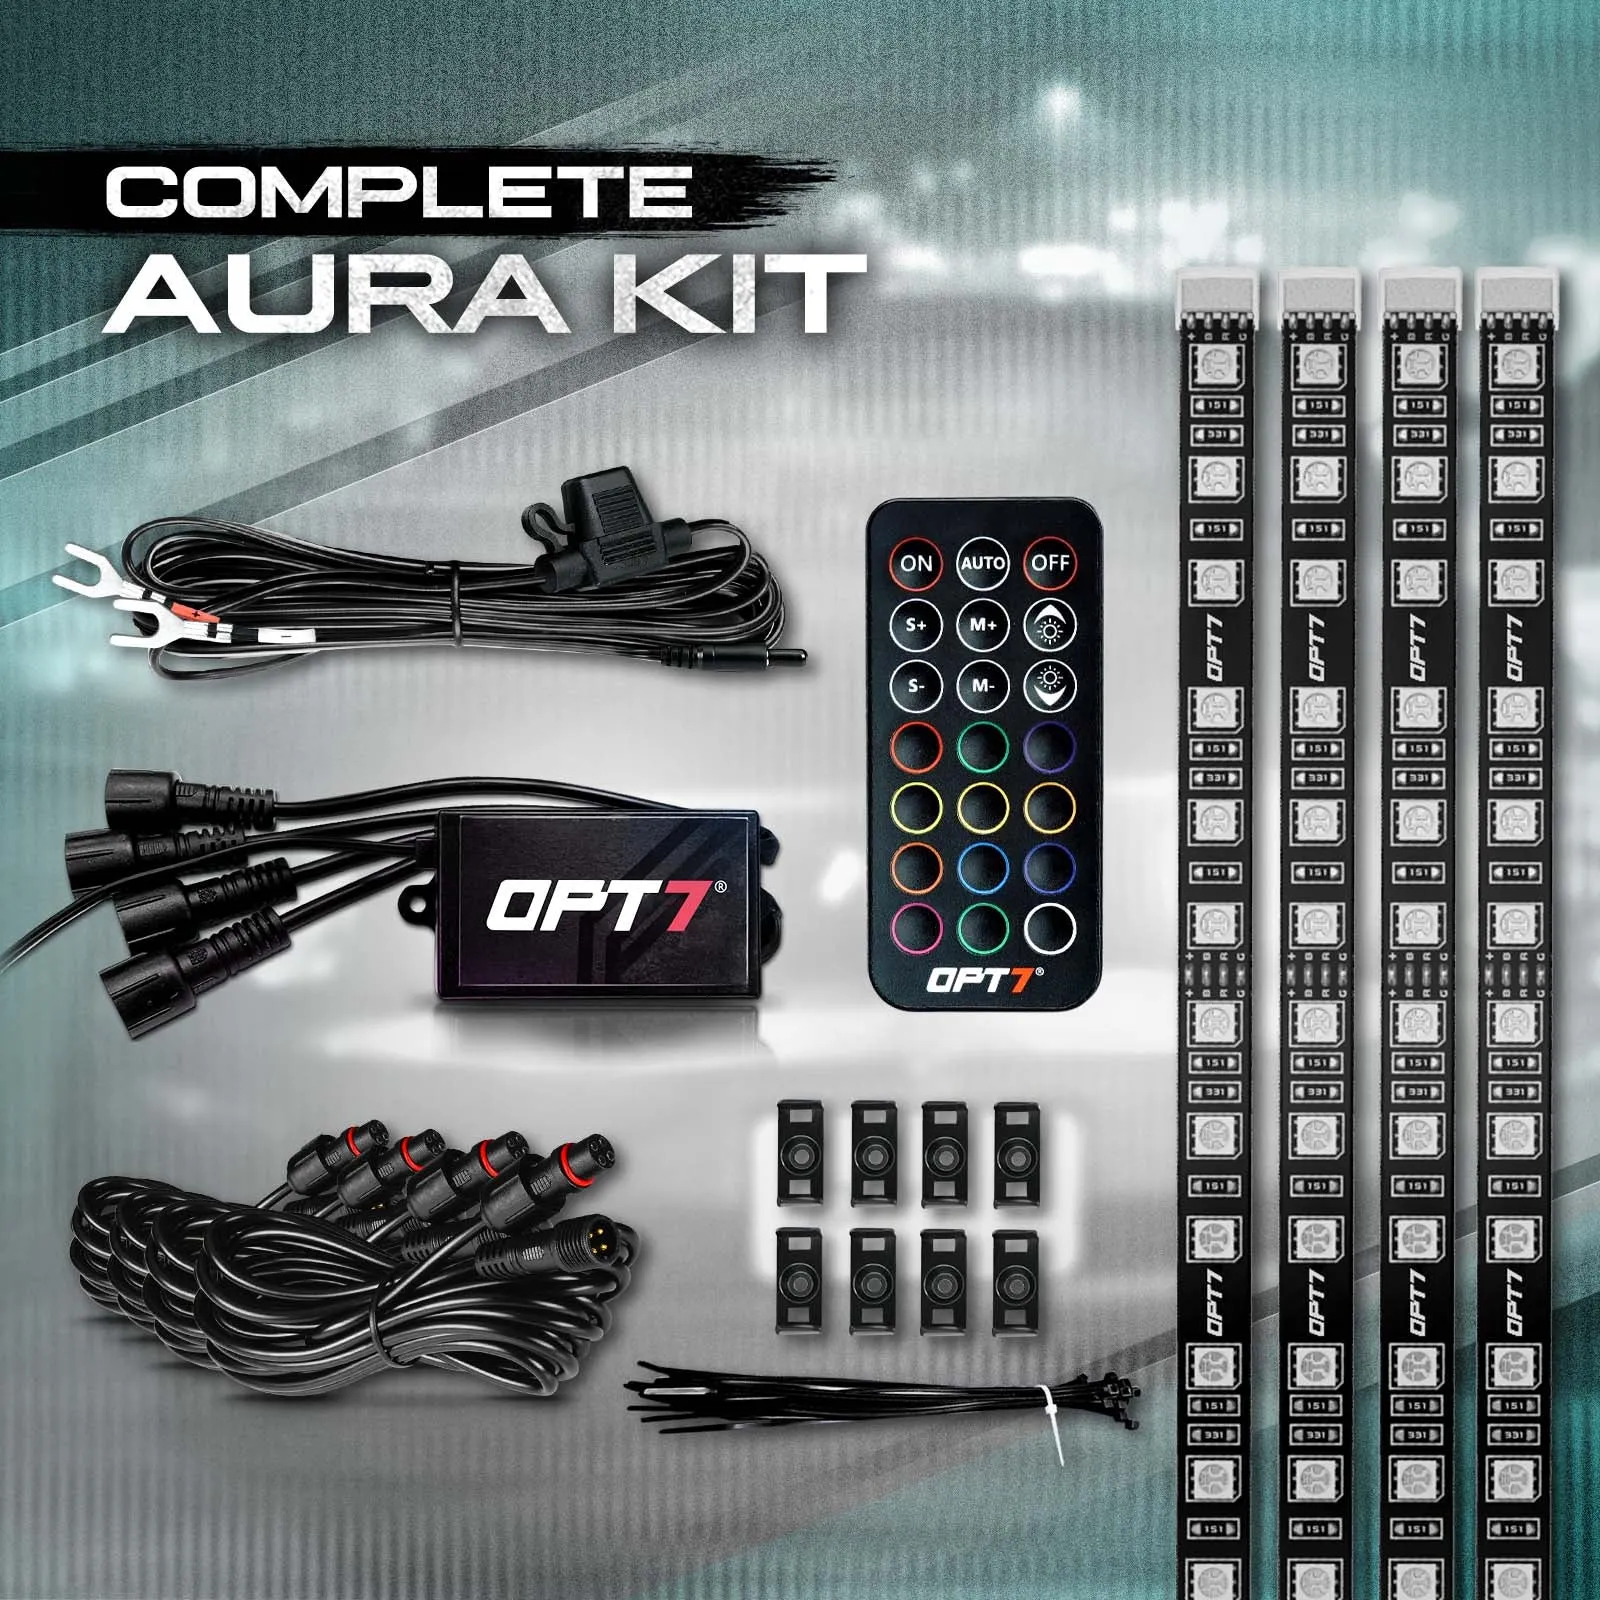
AURA™ Mustang Halo LED Light Kit Includes:
  • 1 x 21-Key Handheld Remote
  • 1 x AURA™ V2 Control Box (P) 4-Pin Round Waterproof Pre-Attached Connectors
  • 4 x 12" LED Strip with Adhesive Back
  • 4 x 10ft Extension Wire
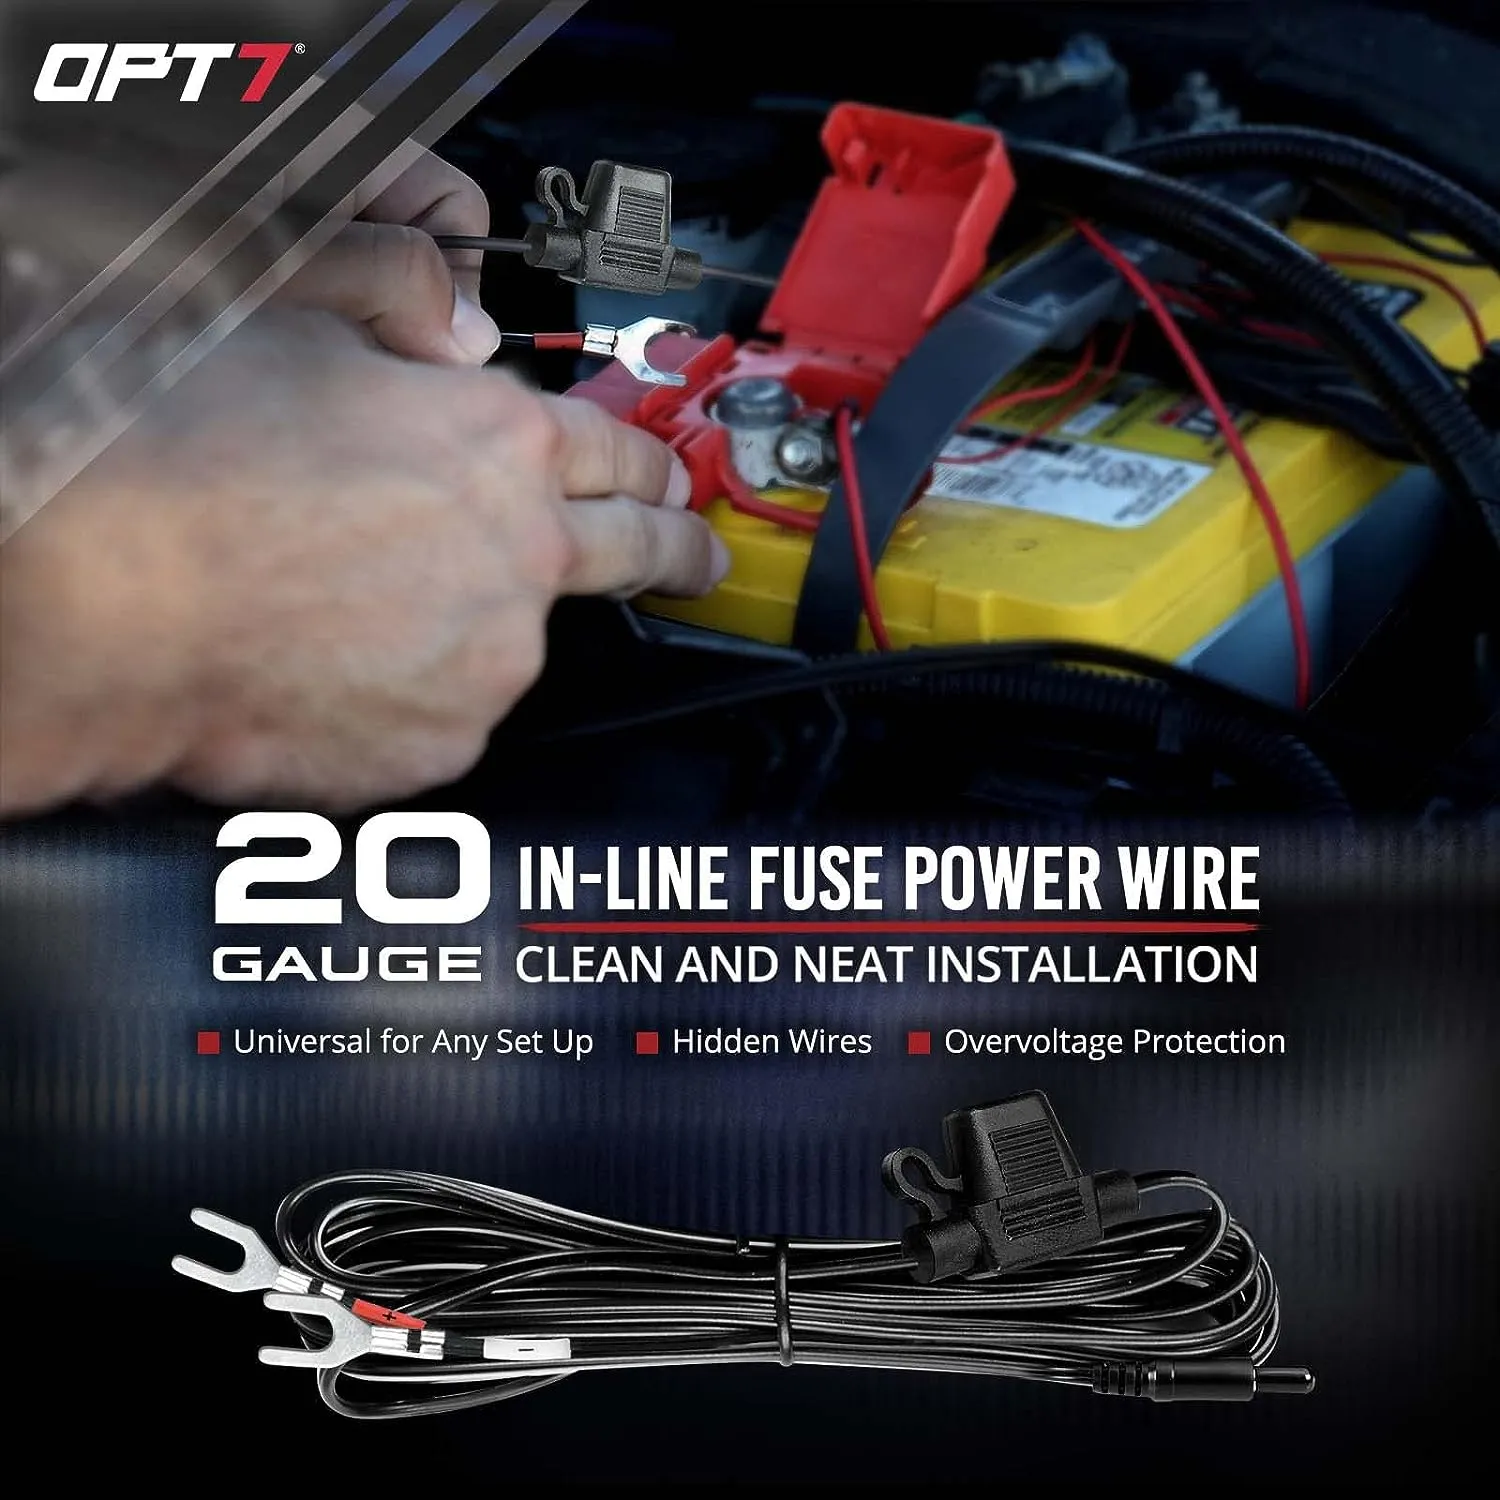
  • 1 x 10 ft Inline Fuse Hardwire Power Harness
  • 1 x Pack of Mounting Kit and Zip Ties

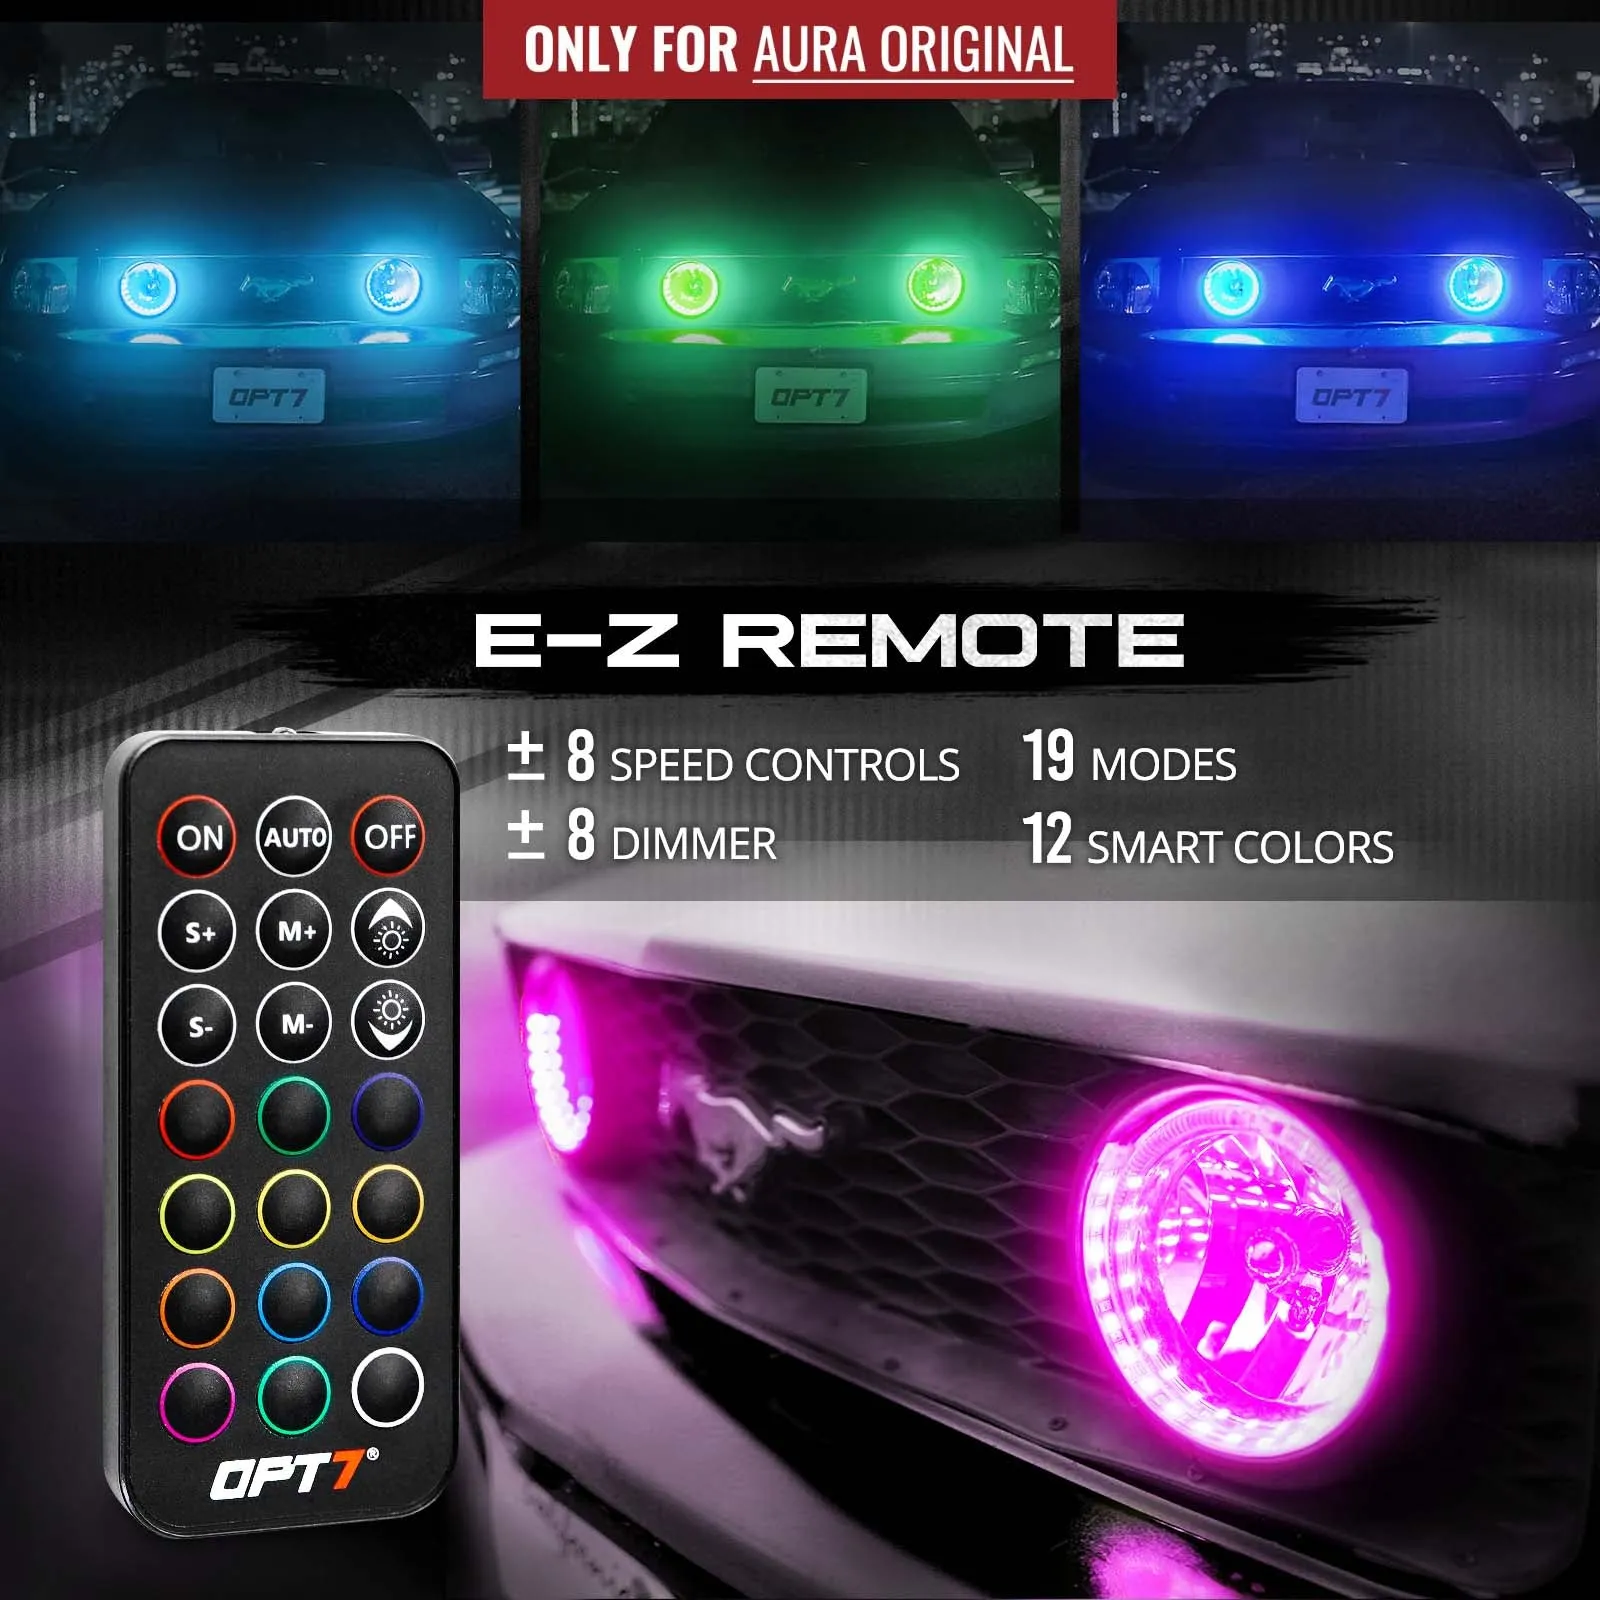
E-Z Programming 
Once installed, easily select the color and pattern you want with our feature-rich E-Z Remote.

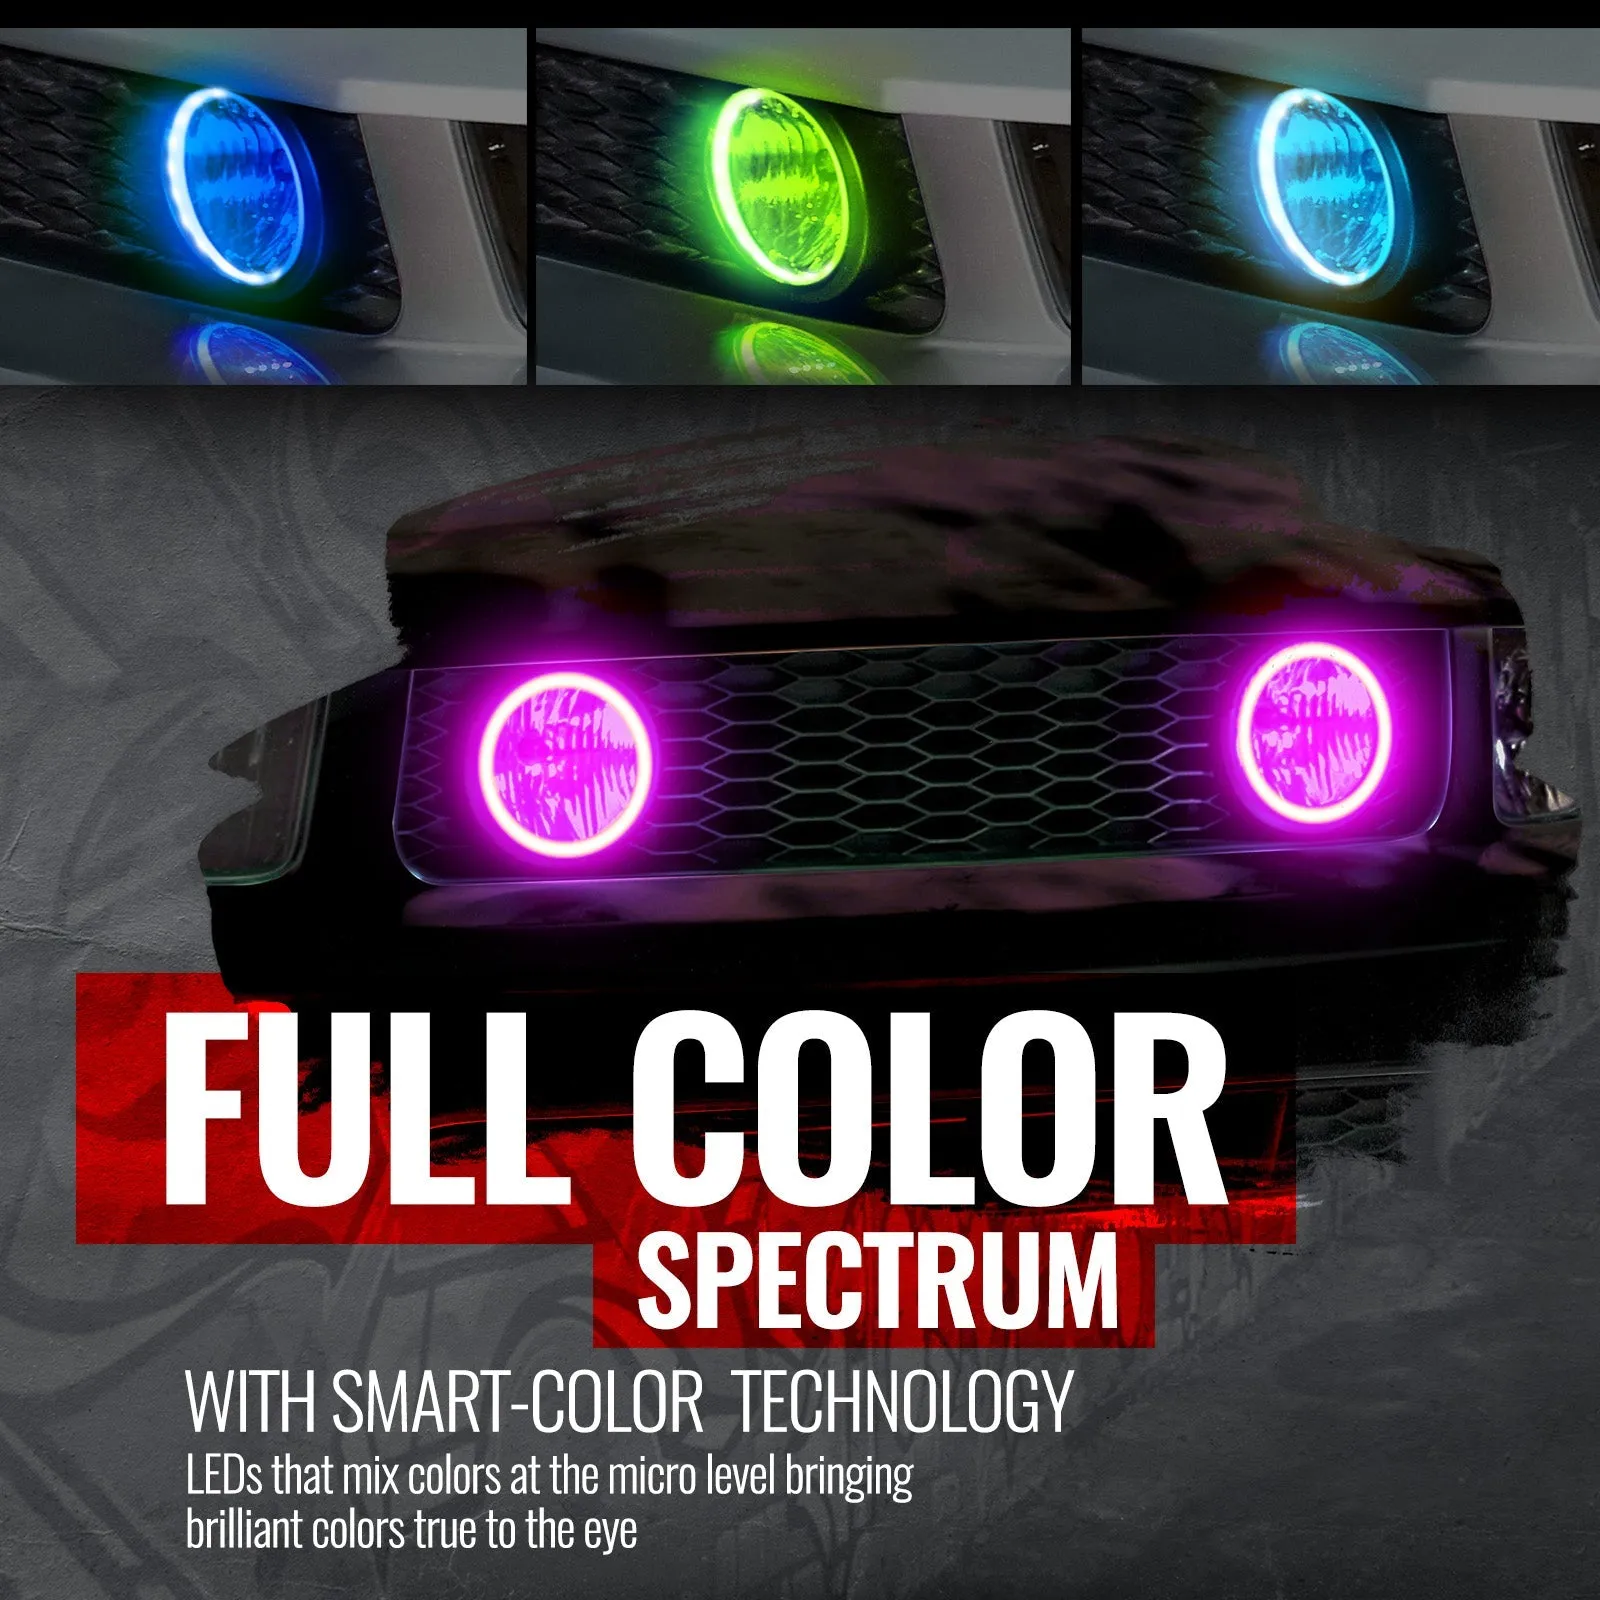
  • 12 Solid Colors
  • 19 Modes
  • 8 Levels Speed
  • 8 Levels Dimmer

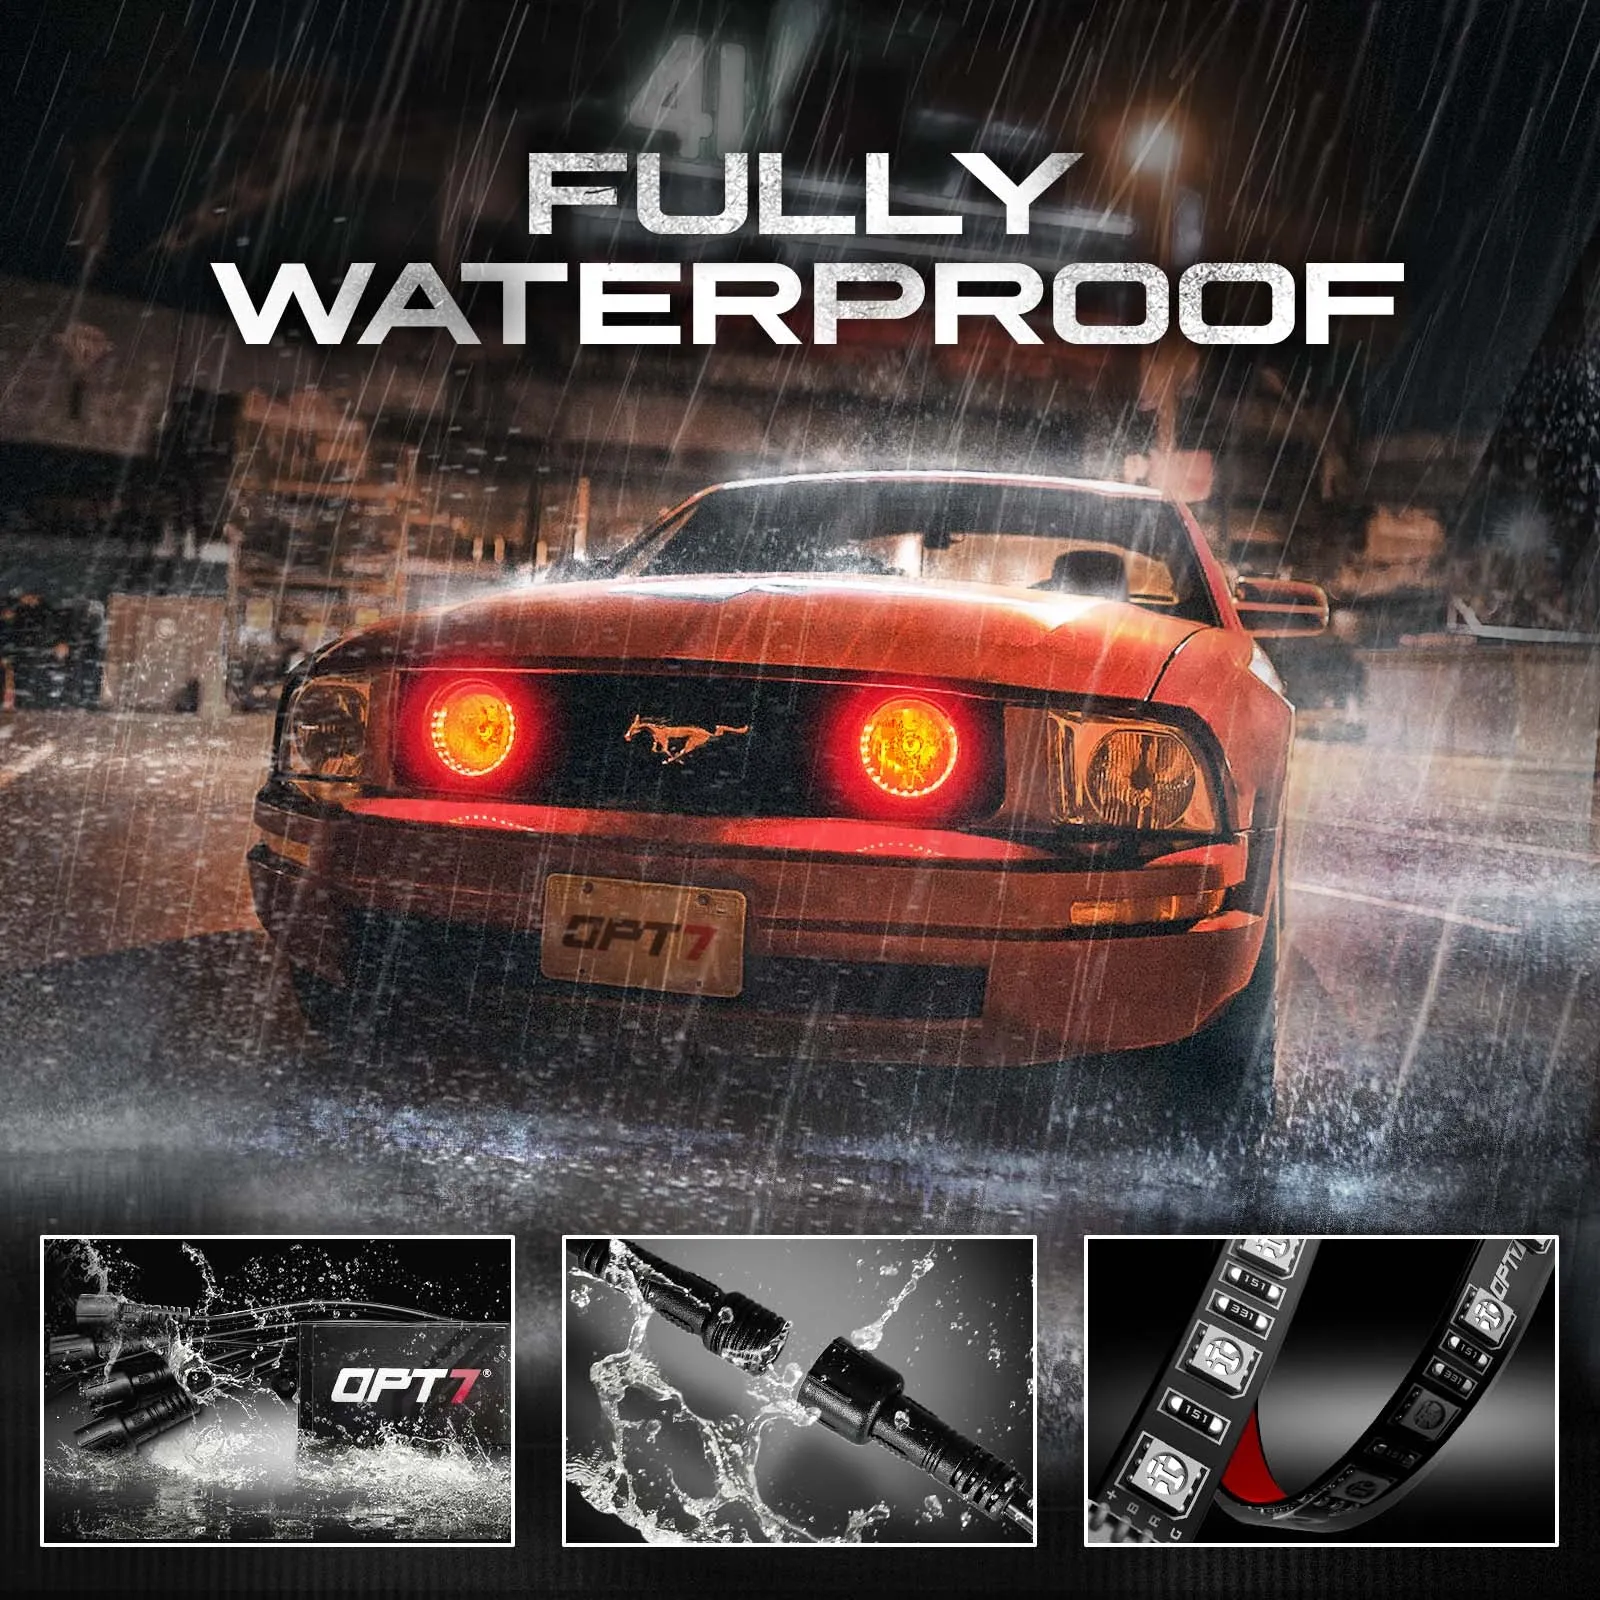
Waterproof Connectors are here to stay!
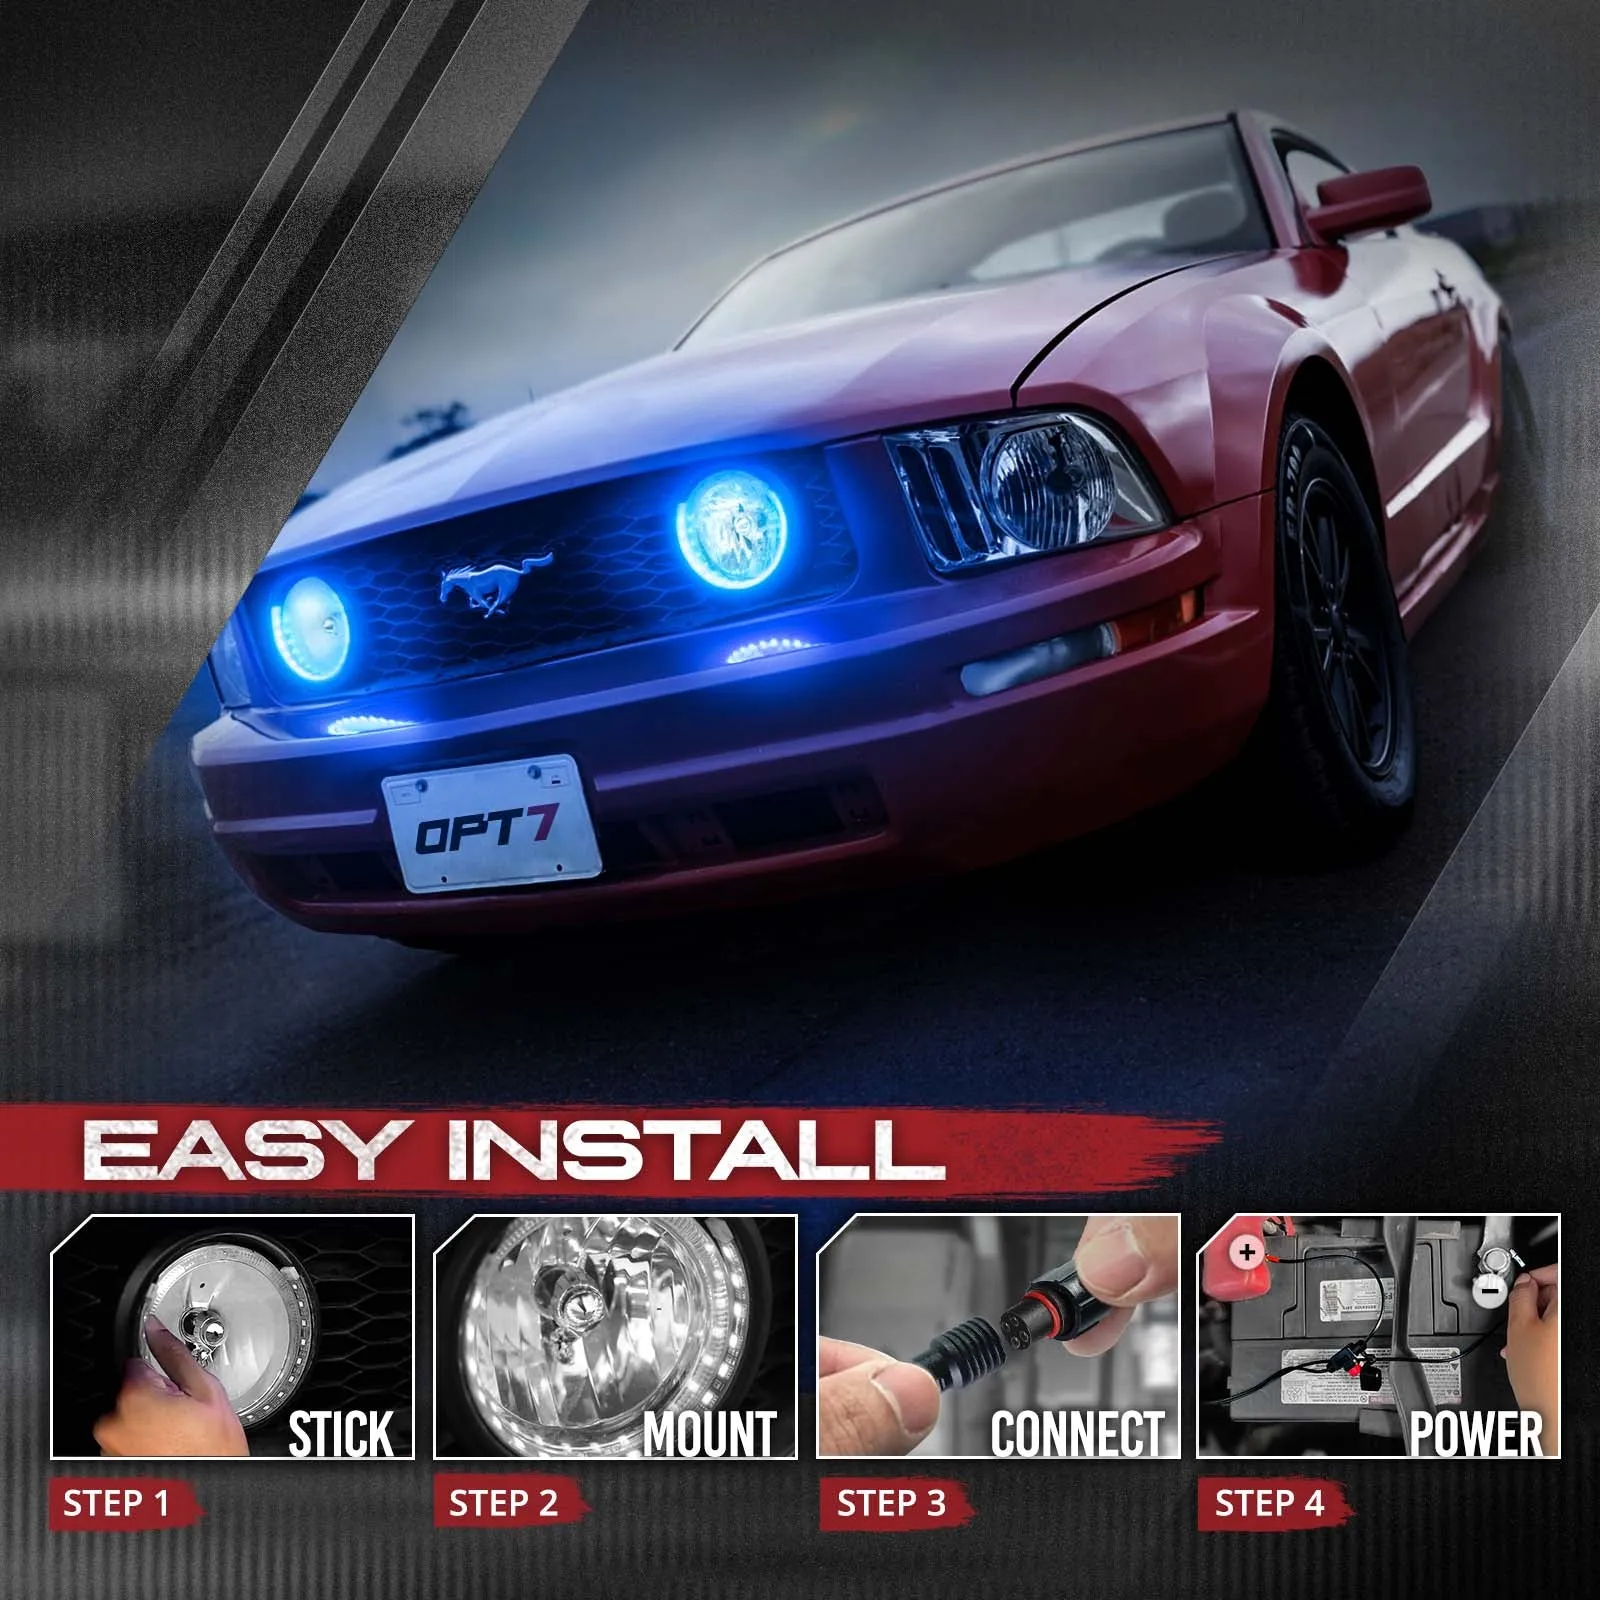
Get OPT7's AURA™ Mustang Halo game-changing lighting system that installs in minutes and lasts for years to come!

Safe & Neat Installation
Inline fuse power harness which allows you to use the battery direct connection. This allows a direct battery and a protected power pull so you don't need to worry about an overdrawn on voltage. The control box operates at a maximum voltage of 12V.

NEED MORE LENGTH for customized installation? Search: 

  • Inline Fuse Power Harness
  • Fuse Tap Adapter Set
  • 5ft Extension Wire
  • 10ft Extension Wire
  • Y-Splitter

Automotive Adhesive Tape
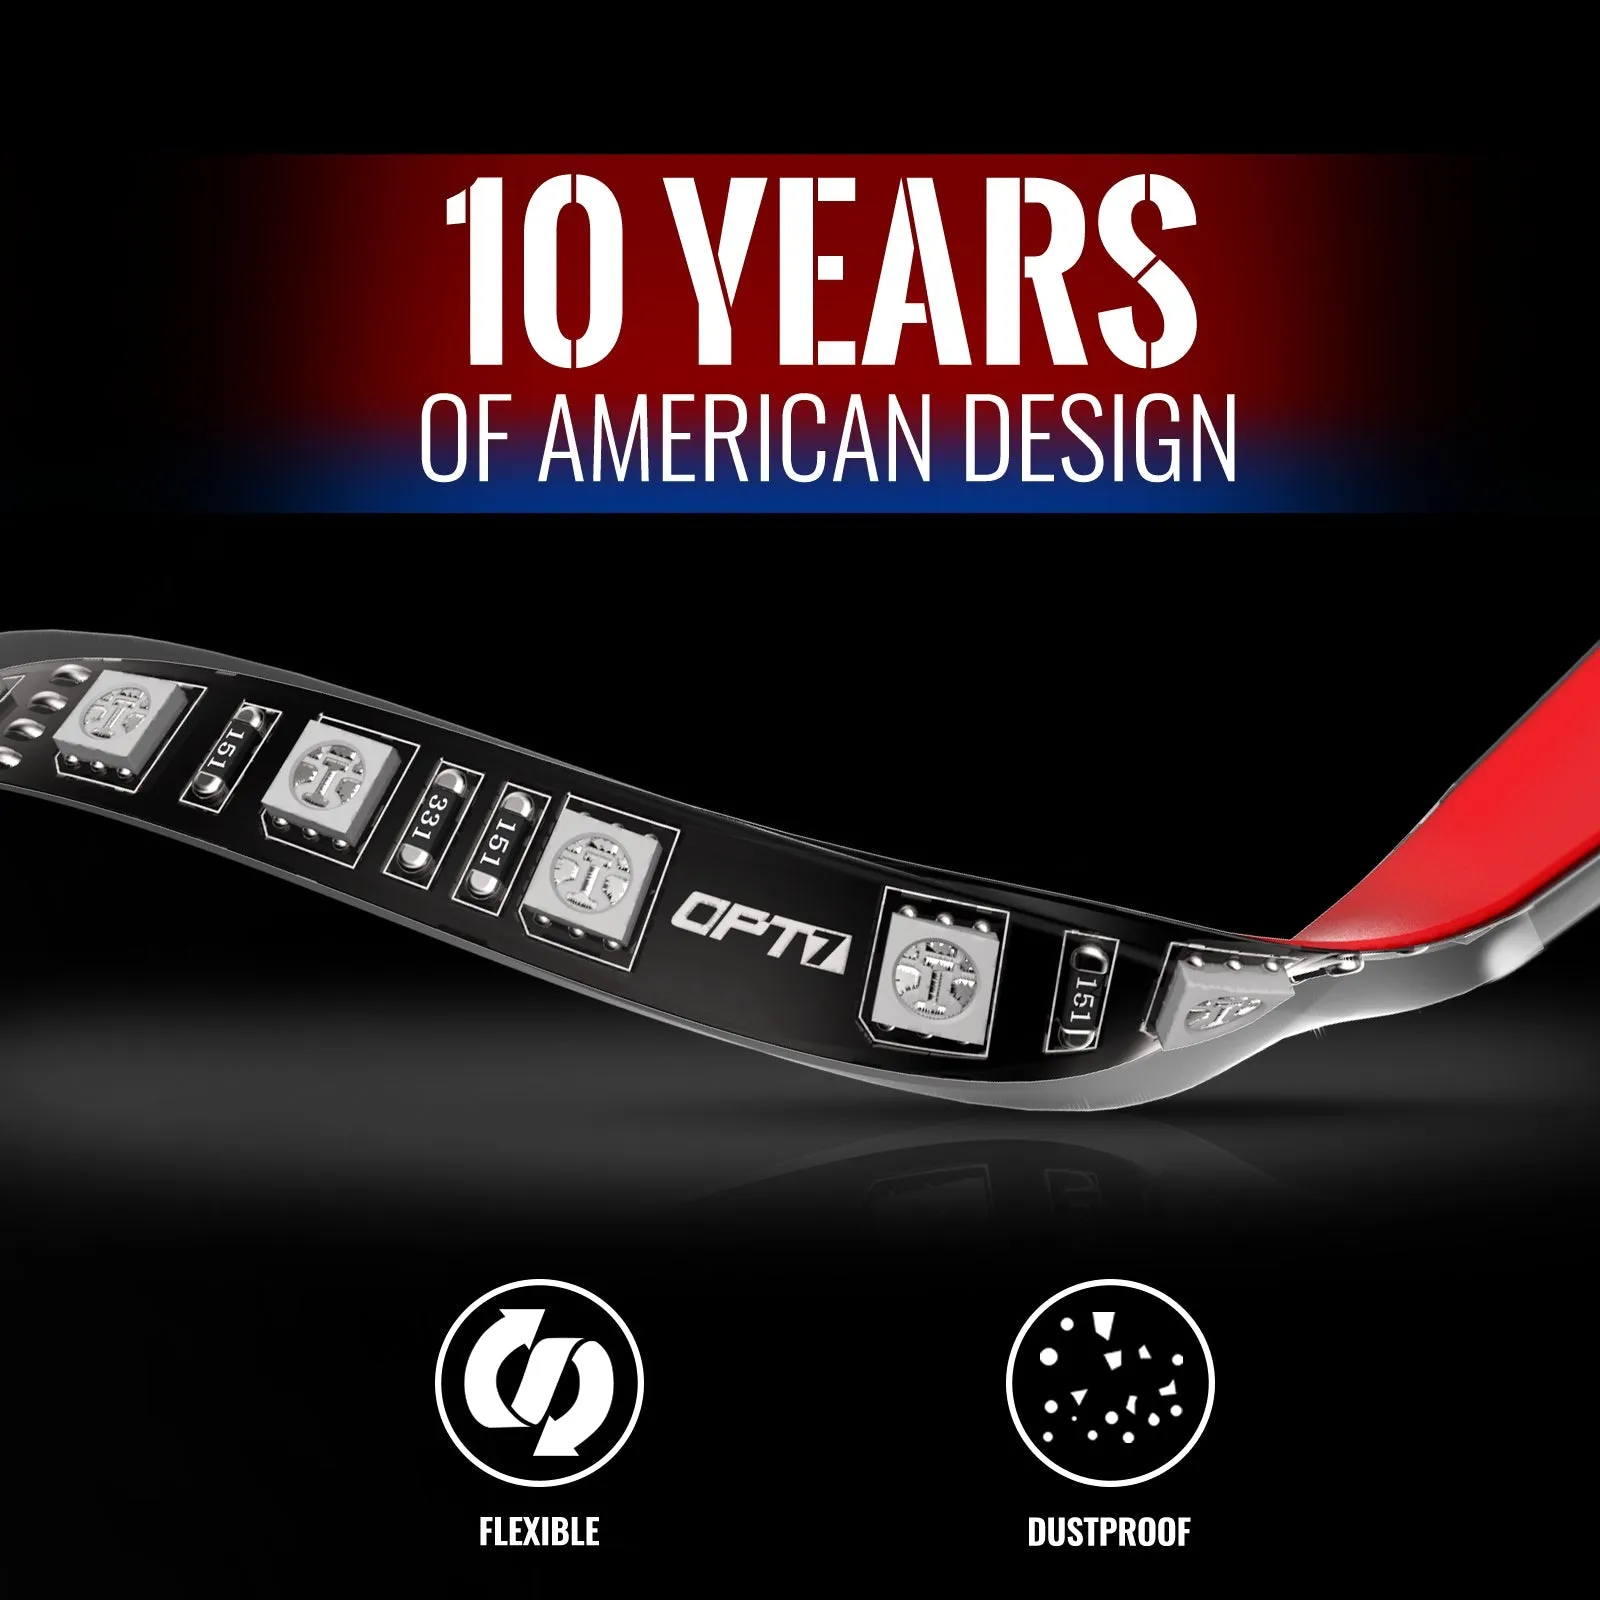
Our premium strip kit features strong, high-quality binding tape.

Tips on Applying Adhesive LED Strips Securely:
1. To prep the area you wish to mount the LED strip, dampen a clean cloth in warm water, then scrub the surface to remove debris. Any grime left behind could prevent the LED strip from sticking, so thoroughly clean the surface until it’s free of dirt and scuff marks.
2. Remove any moisture left over with a clean, dry cloth or give the surface 30 minutes to air dry. Next, use the adhesive booster that we provide to wipe the area for a ready to stick surface.
3. Peel the adhesive backing from one end of the LED strip. Position the LED strip carefully on the desired surface, ensuring proper alignment. Press firmly to secure, working gradually from one end to the other. For best results, avoid repositioning the strip once it's adhered.
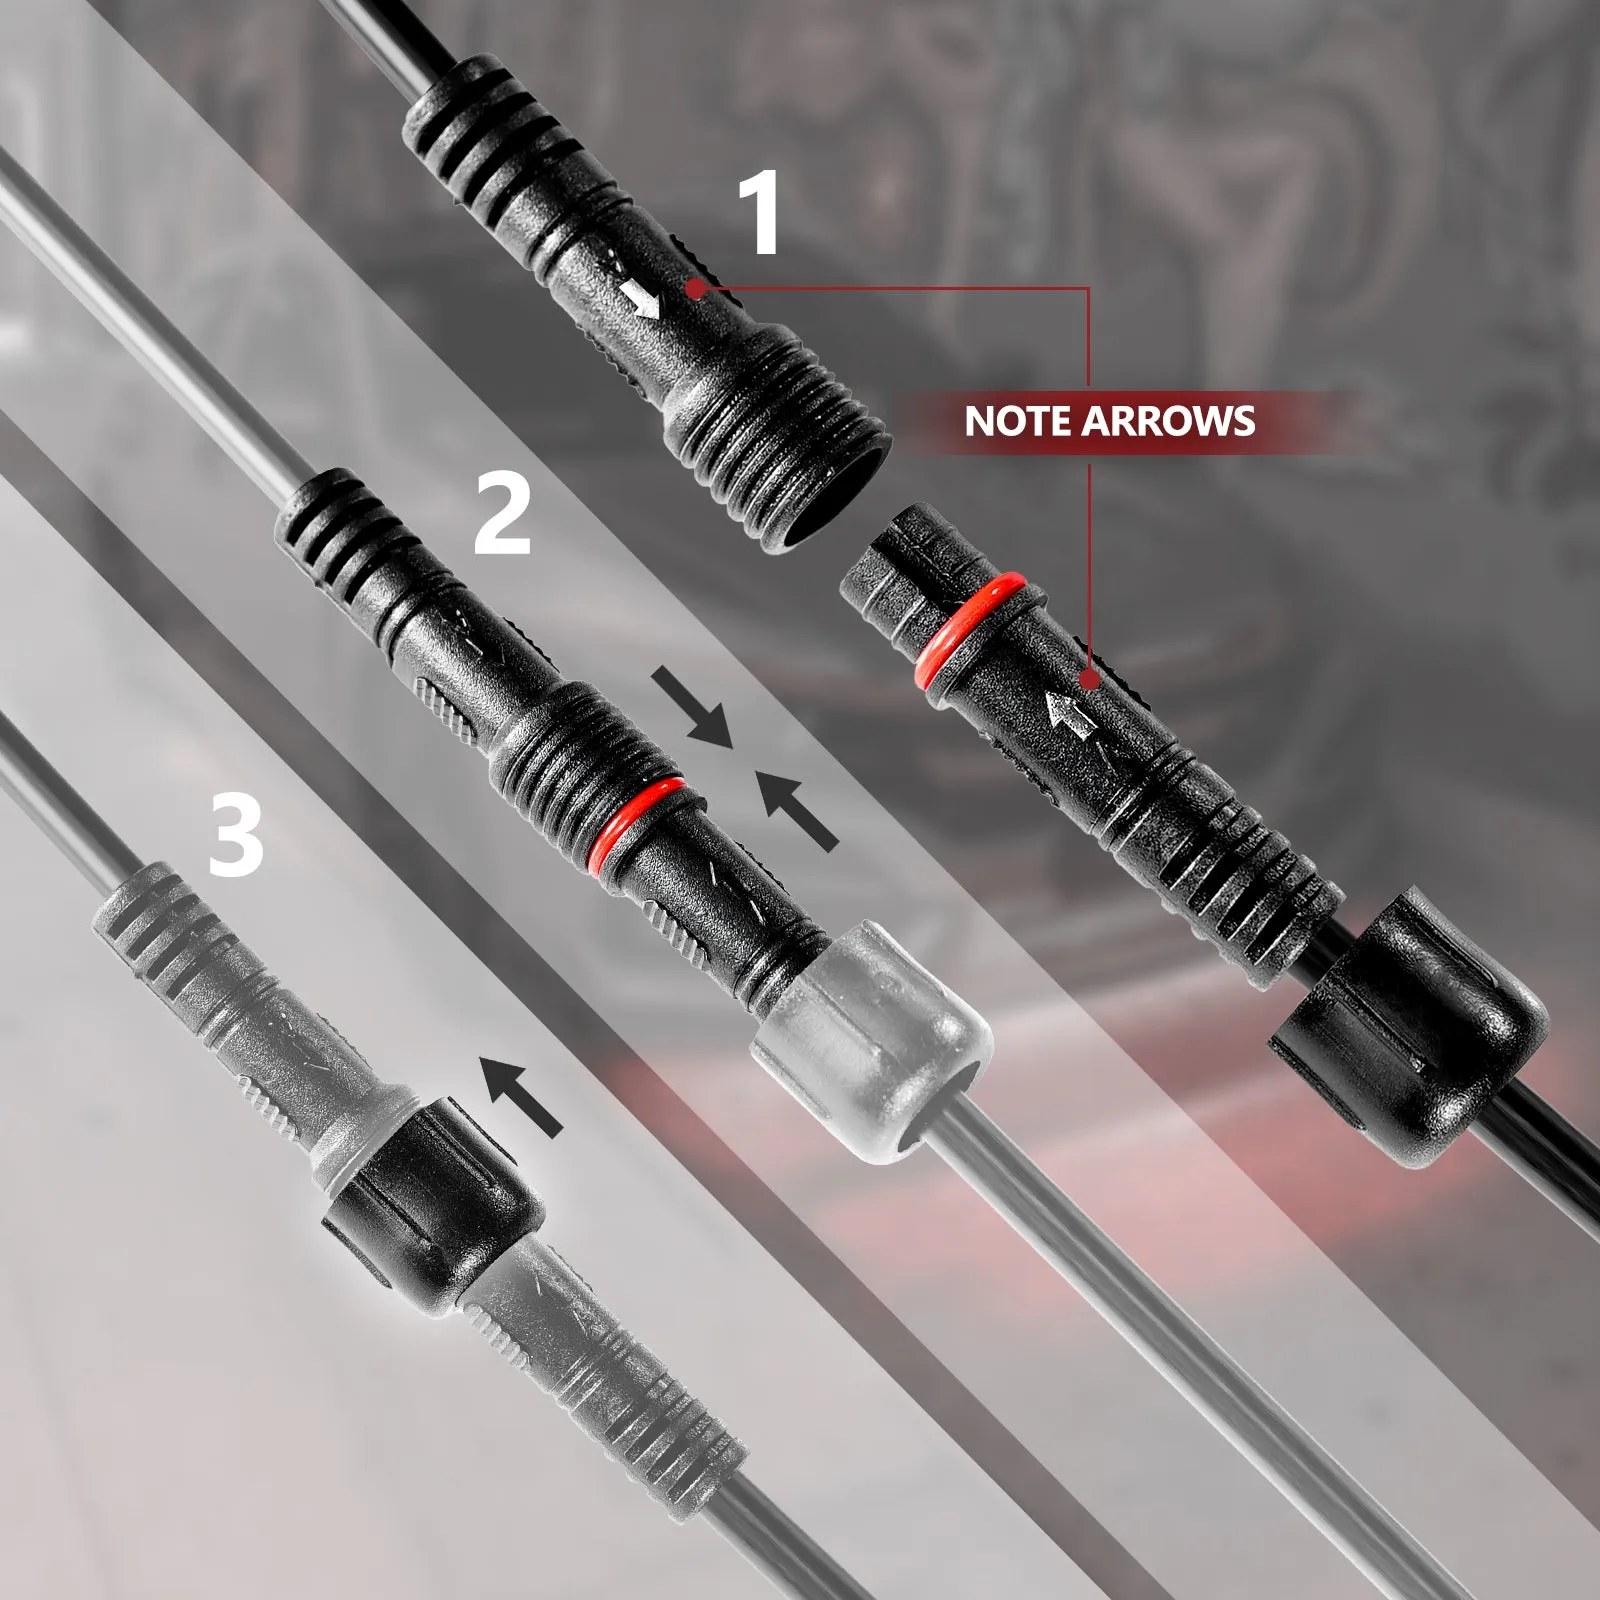
4. Align the arrows on the pins to ensure secure connections during installation. This step is crucial as it prevents improper installation, which has been causing color issues for some users.

Warranty Covered:
Includes our free 1 Year Warranty (starting from the order date)

Installation Guide

You May Also Like
Cart
The Ultimate Guide to Choosing the Right Sports Shoes for Every Activity
Your cart is currently empty.